OPUSFob
Do you hate the form factor of your OPUS card? Do you hate taking your wallet out to dig out your OPUS Card at Berri-UQAM? Well do I have the solution for you!
Using the fast-acting powers of acetone & rapid prototyping, you too can chop up your OPUS card to fit into an even bulkier keyfob-like form factor!
This post will describe my journey to shrink my Montreal OPUS card down into a "OPUSFob" (trademark not pending).
Ingredients:
- 1x OPUS Card (that you're willing to sacrifice);
- An inconspicuous amount of acetone, preferable that pure stuff;
- Gloves;
- A acetone-friendly container;
- Rubbing alcohol;
- Utility knife;
- Soldering iron & solder;
- Enamel wire of your choice, preferable 28 AWG or thinner;
- Glue of the super nature & some hot glue;
- 3D Printer provided from a local university or library of choice.
Cheesy warning & intro:
Just so I don't get a notice in my inbox, proceed with my incoherent instructions at your own risk, and this project is for "academic and research purposes". I am not affiliated with ARTM or any of their relatives/subsidiaries/family. The inspiration for this project comes from Jaime Yu's blog. His original post from 2008 using the older OPUS card can be found here
This is a lot of words and I'm not reading them:
TL;DR: Cut out the gold chip / IC from the card, dunk it in acetone and clean it up, solder a coil onto the rear pads that makes the NFC readers around Montreal happy, enclosure, ???, profit?
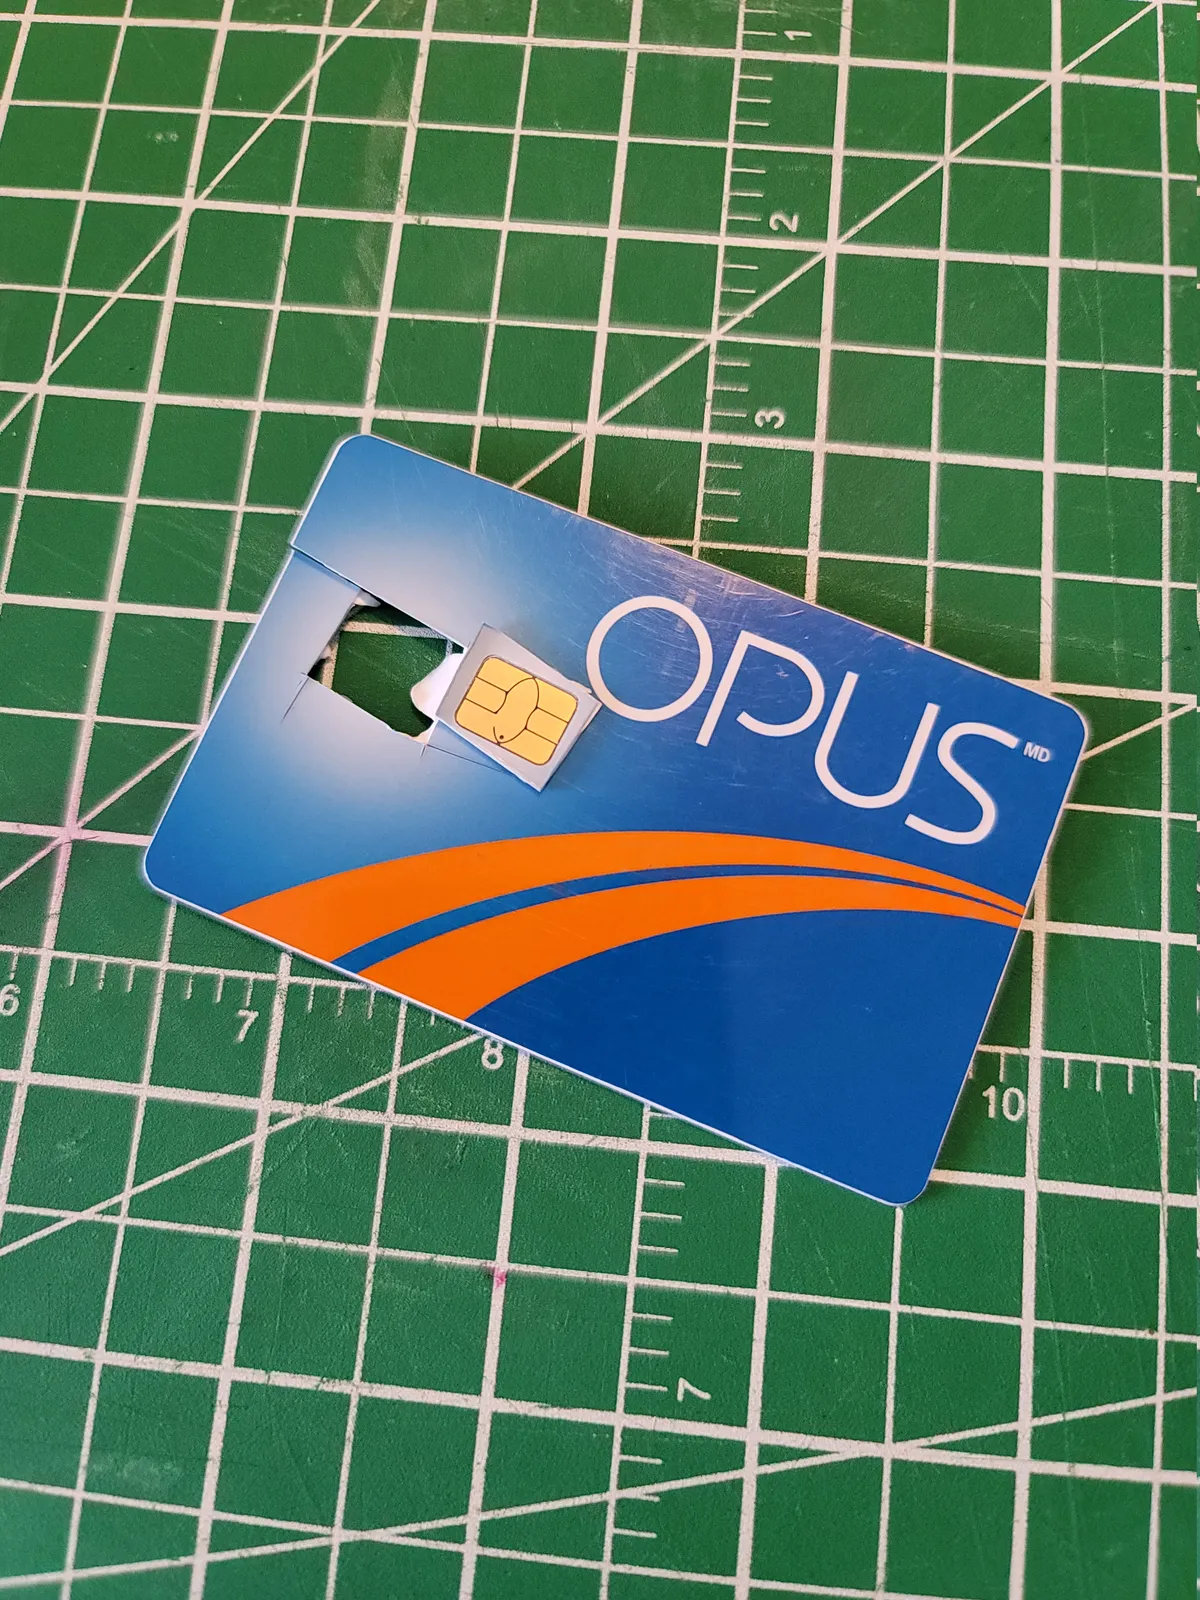
Preparing the card
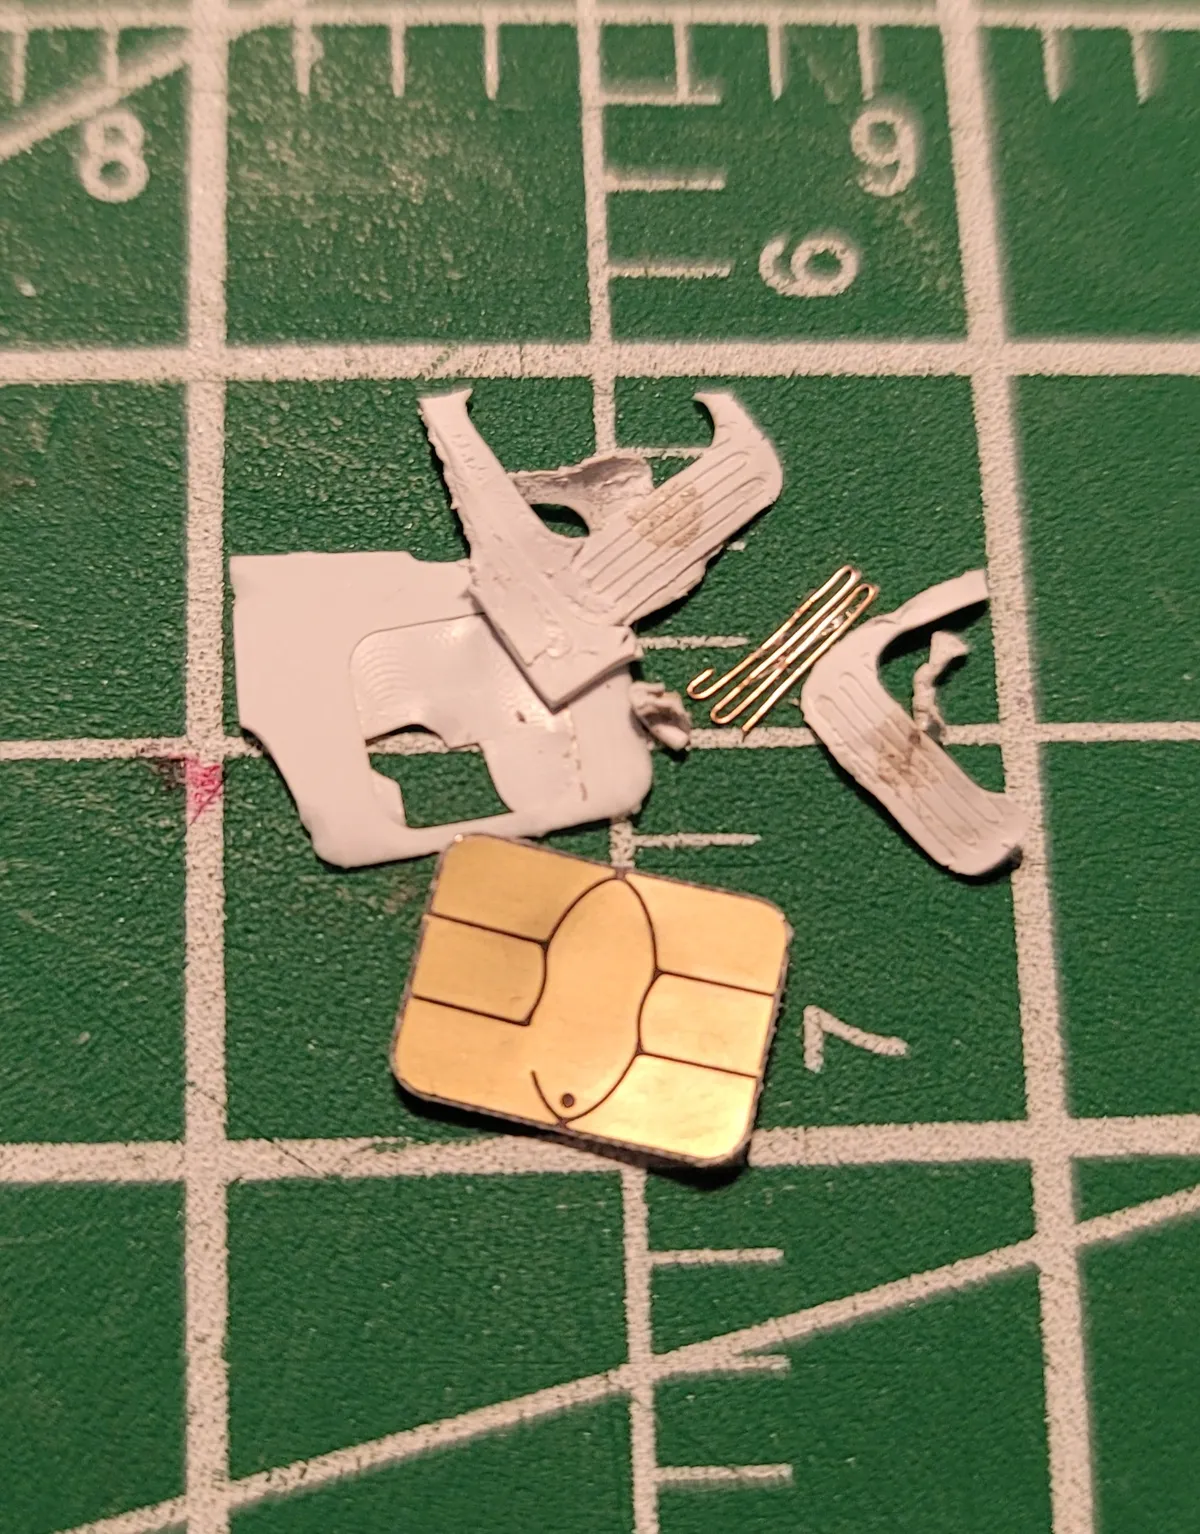
Start by making sure your card is registered. You definitely shouldn't declare it as lost if you screw this up and damage it past repair. Once that's done, start by cutting out the gold chip on your OPUS card. Make sure that you don't accidentally cut or damage the teeny-weeny gold chip!
Take your chip, and plunk it in your pickle jar full of acetone. Give it a couple hours in the acetone bath and the chip should separate from the rest of the card's plastic, give it a hour or so more if it doesn't separate. Also, don't fret if the wires fall off & it will also look like the chip is bent. That's apart of the process, don't worry about it.
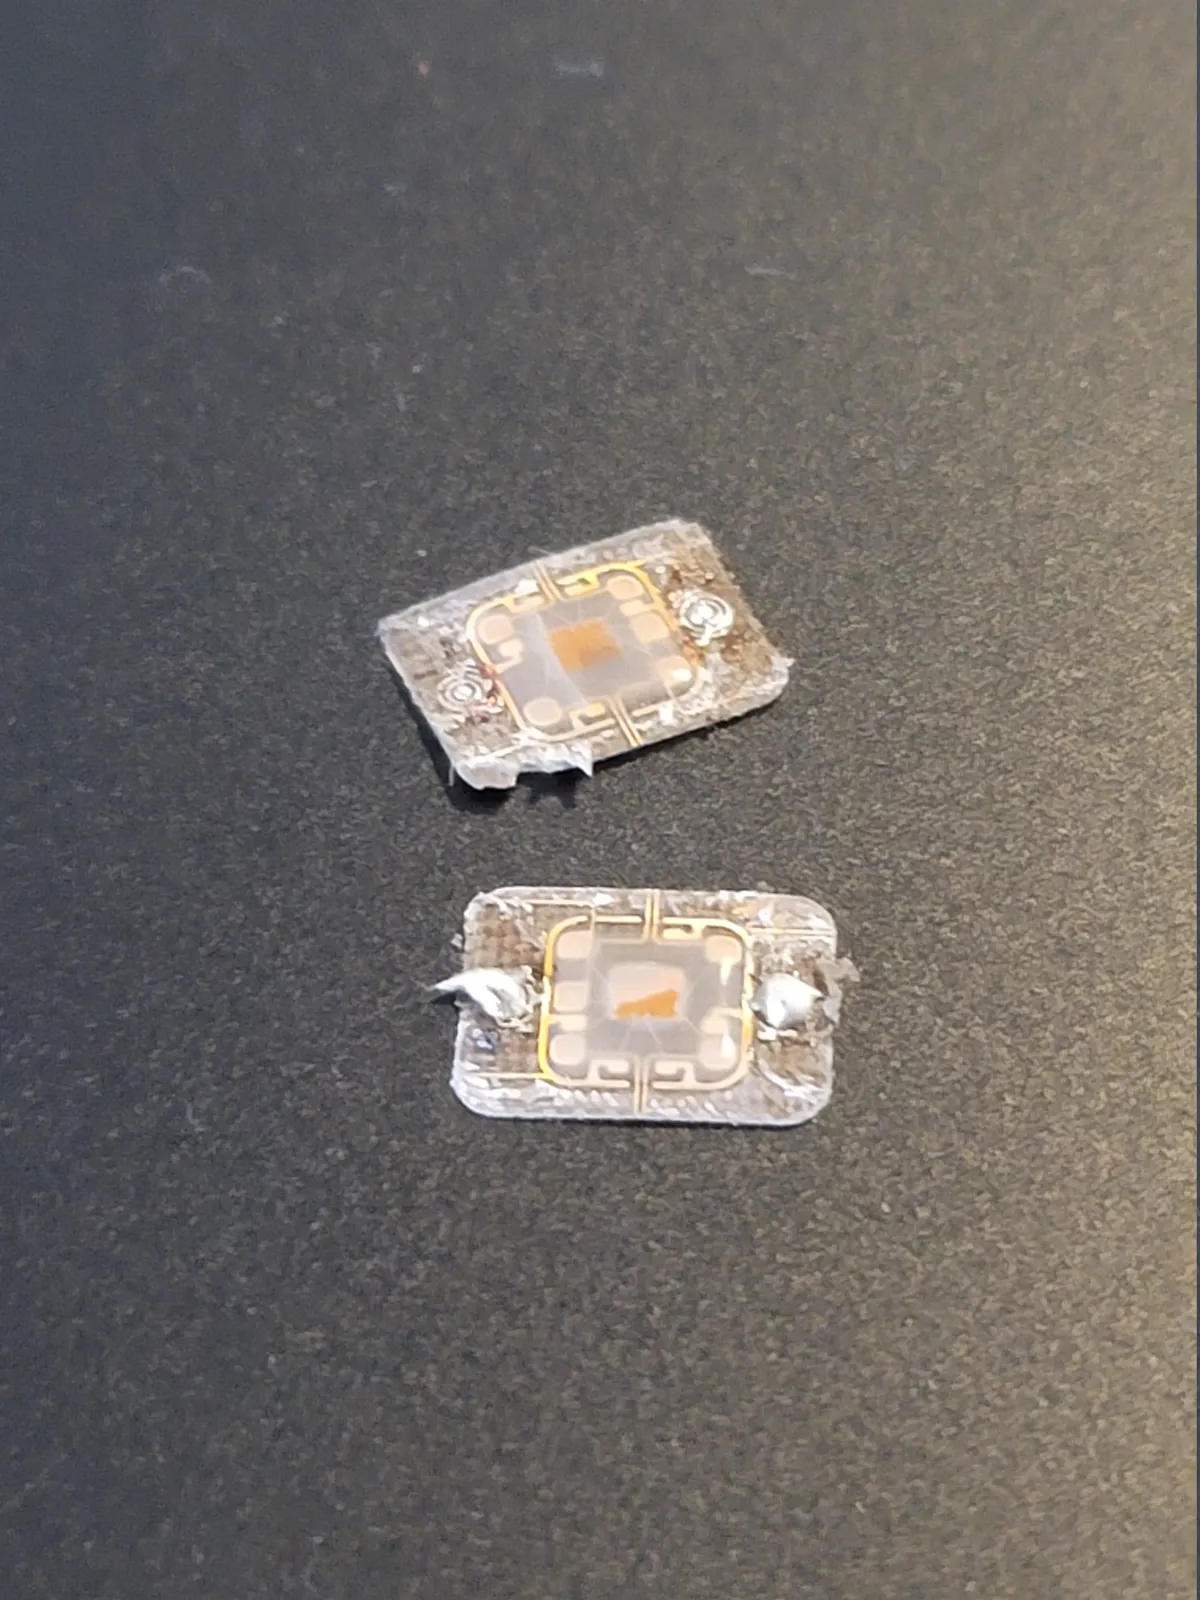
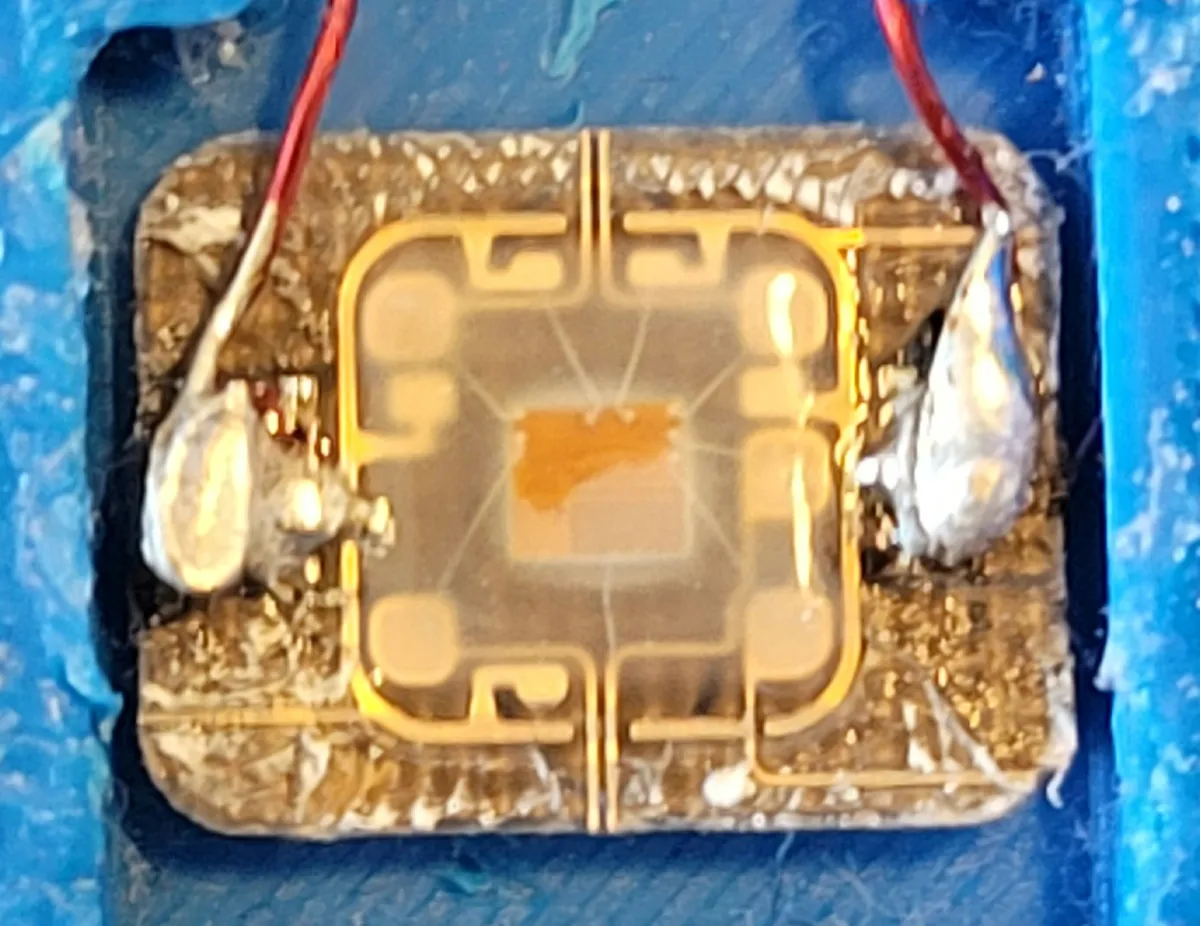
Once the chip has fully separated from the plastic backing, take it out & dab all the acetone up. Then give it a quick rinse in some IPA to clean off the rest of the plastic goop. Most likely there will be some residue left on the pads where the card's coil used to be. Take your time and gently clean it off till you get to the copper below. You'll see a neat little pattern below once you've cleaned enough. Make sure to use your soldering iron to tin the pads to make the coil easier to solder.
Preparing the coil
Now the fun part begins! You'll have to decide where you're going to put your new deconstructed OPUS card, but for this post I threw mine into a "keyfob-like" enclosure. You definitely could fit this in a phone case if you tried hard enough, or potentially in a watchband.
My shitty keyfob design can be found on TinkerCAD using this lovely link.
For the keyfob coil, I ended up using 28 AWG enamel wire to make a 3.5 cm diameter coil with 7 turns to make it resonant. You could go even further and try tuning the circuit using something like a NanoVNA for peak performance, but I found my coil was sufficient for my needs.
Just as a proof-of-concept, I cut up a Canadian Tire "mini-plastic red cup", and found out it was the perfect size for the coil I had in mind (3.5 cm diameter). If you want to try and design your own coil, there is a plethora of resources online that will help you calculate the right specs for a coil. Keep in mind that the OPUS chip has a rough capacitance between 50 to 70 pF. Just google "NFC antenna calculator" for examples.
For those uninitiated, you'll have to strip the coating on the enameled wire in order to solder to it. To do this, depending on the gauge of the wire, you can strip it off with a knife or melt the coating off with a blob of hot solder.
Now that I'm armed with a functioning coil & a chip, now it's time for the enclosure!
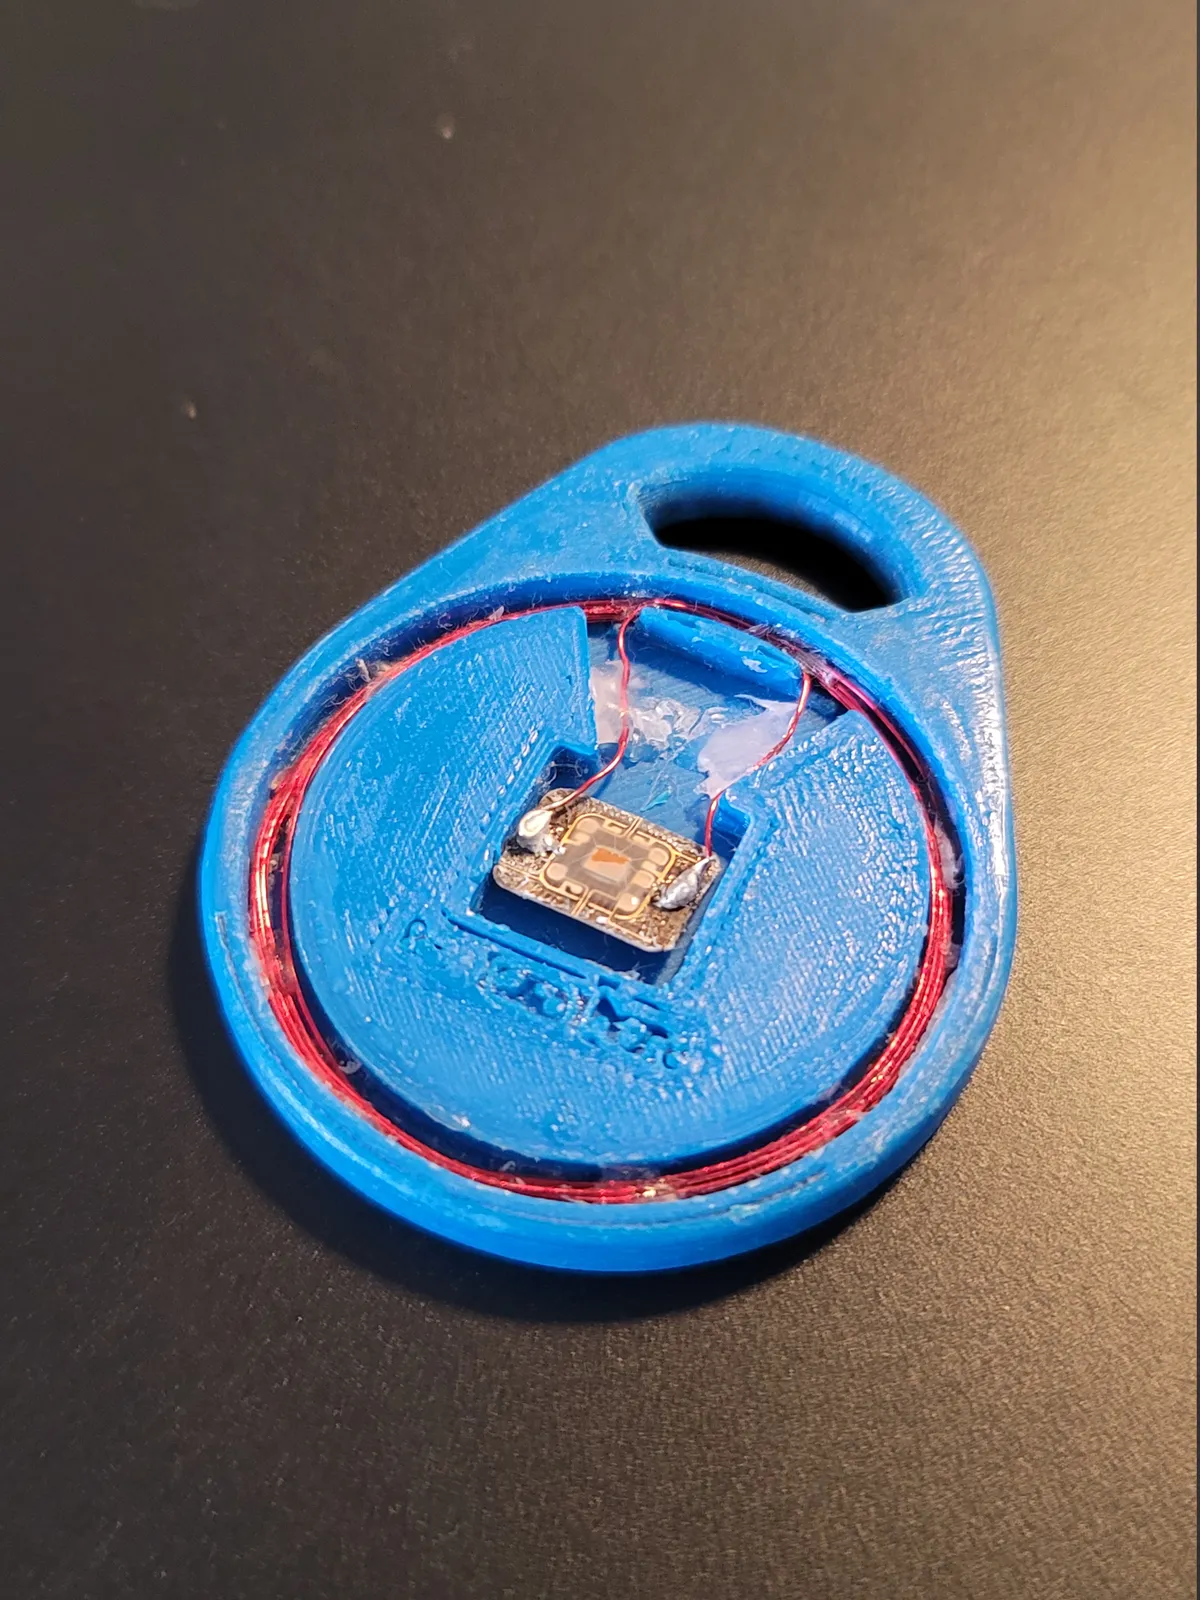
Keyfob Time!
The enclosure was designed with 3 cups of mid coffee & on a horrible laptop with TinkerCAD running in the browser. The main goal in mind was to almost have a form factor from a hybrid between a generic HID keyfob & a bluetooth tracker. The chip sits in the center & the coil goes in the circular groove around the chip. Then the oval curved piece gets glued on-top of everything once you're satisfied.
Issues & Comments
- So far I haven't had to show my pass to any exo/STM inspector yet. There's probably some niche / obscure bylaw stating that you're not supposed to chop up your OPUS card, but YMMV. If you have a OPUS card with a photo on the rear, I suggest keeping that chunk of plastic in your bag in case of emergency/confrontation.
- When I first started this project back in 2022, I made my first keyfob enclosure using PLA. So far, that keyfob has stood the test of time, and has survived three chip swaps as student OPUS cards expire every. single. year...